



Should You Disassemble Furniture Before Moving? A Guide for Office Moves
Should You Disassemble Furniture Before Moving? A Guide for Office Moves
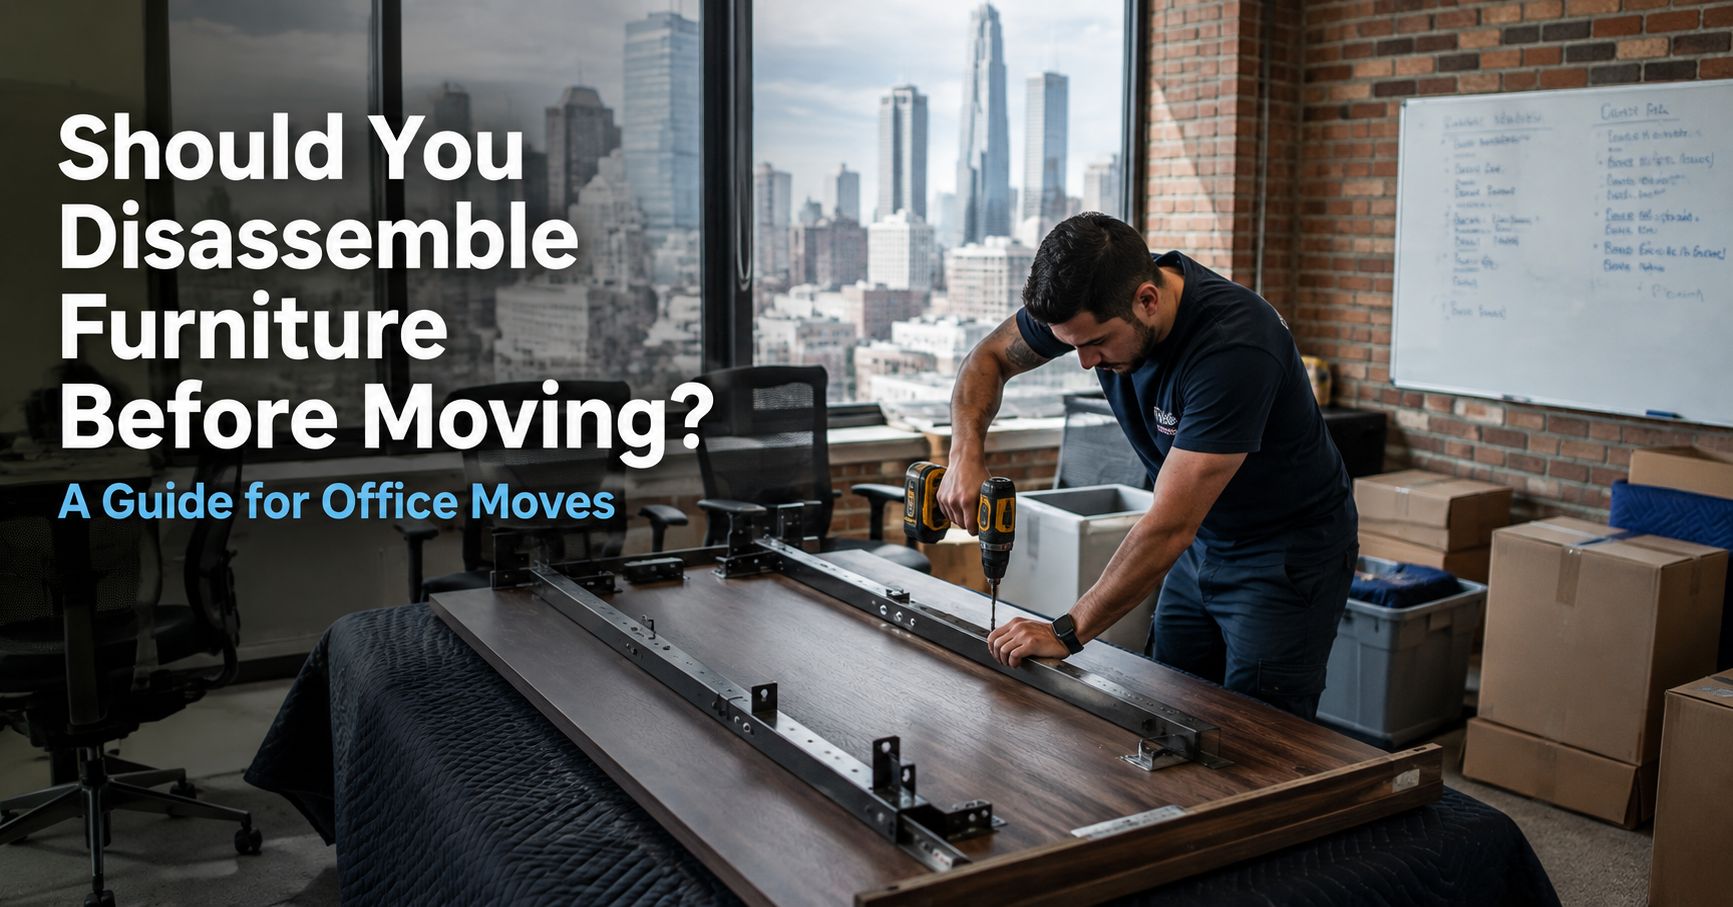
Yes. Disassemble furniture before an office move whenever it’s large, heavy, or won’t clear a doorway, hallway, stairwell, or elevator; desks, conference tables, and shelving units almost always fall into that category. Smaller, sturdy pieces that one or two people can carry as-is are usually better left assembled, since taking them apart adds handling time without reducing risk. The right call comes down to the piece’s size, weight, construction, and how far it has to travel.
Quick answer: Disassemble it if it’s large, heavy, or won’t clear a doorway. Leave it assembled if it’s small, solid, or antique. Everything else is a case-by-case call a mover can make on-site.
What Does “Disassembling Furniture” Mean for a Move?
Furniture disassembly means removing the bolted, screwed, or otherwise fastened components of a piece, such as legs, tabletops, doors, hutches, drawers, and shelves, so each section can be carried, wrapped, and loaded on its own, then put back together at the new location. It’s distinct from simply taking things apart. Done correctly, it’s a reversible process that leaves the piece fully functional once reassembled.
What Are the Benefits of Disassembling Furniture Before a Move?
Breaking large furniture into smaller sections solves four specific problems that come up on almost every office move: transport, damage risk, truck space, and long-distance wear.
Does disassembly make furniture easier to carry and fit through doorways?
Yes. A conference table that takes two people to wrestle through a doorway becomes a tabletop and a set of legs that one person can manage. Smaller sections clear tight doorways, stairwells, and elevators without scraping walls or door frames. Desks, cubicle panels, long tables, and modular office systems are the usual candidates.
Does taking furniture apart lower the risk of damage?
Yes, for two reasons. Smaller components are easier to control around corners and on stairs, which lowers the chance of gouging a wall or cracking a surface. Lifting is also the leading cause of workplace back injuries. The Bureau of Labor Statistics has been cited attributing roughly 75% of on-the-job back injuries to lifting tasks (this figure is widely cited by workplace-safety sites but should be confirmed against the original BLS report before publishing). Splitting a 200-lb conference table into carryable sections is a direct way to reduce that exposure.
Does disassembly save space in the moving truck?
Yes. Flat, stackable parts load more efficiently than bulky assembled furniture. Disassembled desks and shelving pack tight against the truck walls, which opens up room for more boxes and keeps everything from shifting during the drive.
Does disassembly protect furniture on longer moves?
Yes. The farther a piece travels, the more it gets jostled in transit. A disassembled piece is easier to wrap completely and pack snugly, which means less movement and less wear by the time it reaches the new office.
Which Furniture Should Be Disassembled Before an Office Move?
Some pieces are almost always easier to handle in parts:
- Desks and workstations. Bulky and built from several components; removing legs, returns, or hutches makes them much easier to carry and load.
- Conference and meeting tables. Heavy tops and wide leg spans that are hard to steer through doorways in one piece.
- Large shelving and storage units. Weight and height create real stability and safety concerns on stairs and ramps.
- Modular furniture and cubicle systems. Designed to come apart and reassemble, so moving them intact rarely makes sense.
- Bed frames and other oversized pieces on residential or hospitality-related moves, where the dimensions alone make disassembly the safer choice.
Which Furniture Should Not Be Disassembled Before Moving?
Taking a piece apart adds time and introduces the chance of losing hardware or reassembling it incorrectly, so some items are better moved whole:
- Small tables and lightweight pieces that one or two people can carry as-is.
- Solid, one-piece furniture built to stay together, which can be difficult or impossible to reassemble correctly once opened up.
- Antique or specialty furniture, where the wrong disassembly approach can cause permanent damage.
- Certain cabinets and case goods, depending on how they were constructed. Ask a mover before reaching for a screwdriver.
Disassemble or Keep Assembled? Quick-Reference Table
| Furniture Type | Recommended Approach | Why |
|---|---|---|
| Desks & workstations | Disassemble | Multi-part, bulky, and hard to fit through doors intact |
| Conference/meeting tables | Disassemble | Heavy top and wide leg span |
| Large shelving/storage units | Disassemble | Height and weight create a stability risk on stairs |
| Modular/cubicle systems | Disassemble | Built to come apart and rarely moved intact |
| Small tables & lightweight pieces | Keep assembled | 1 to 2 people can usually carry them as-is |
| Solid one-piece furniture | Keep assembled | Reduces the risk of incorrect reassembly |
| Antique/specialty furniture | Keep assembled | Wrong disassembly can cause permanent damage |
| Cabinets & case goods | Depends on construction | Have a mover assess them first |
Disassembling Furniture vs. Keeping It Assembled: Pros and Cons
| Disassembling Furniture | Keeping Furniture Assembled |
|---|---|
| Handling: Lighter, easier pieces to carry | Handling: Faster prep, no teardown |
| Damage risk: Lower risk in transit | Damage risk: Less chance of losing hardware |
| Truck space: Saves space; packs flat | Truck space: No space savings |
| Reassembly: Required at destination | Reassembly: None needed |
| Best for: Large, awkward, heavy items | Best for: Small, sturdy pieces |
How Do You Properly Disassemble Office Furniture Before a Move?
Correct disassembly comes down to five steps: photograph each piece, bag and label the hardware, mark every section, protect exposed surfaces, and hold onto the assembly instructions.
- Take photos first. Snap pictures of each piece before you start and again as you remove parts. They become your reference when reassembling.
- Keep hardware organized. Put screws, bolts, and brackets in labeled bags, and tape each bag directly to the piece it belongs to.
- Label every part. Mark sections clearly, such as “conference table leg 1” or “desk left panel,” so nothing gets mismatched at the new site.
- Protect individual pieces. Wrap surfaces and edges in moving blankets, bubble wrap, or stretch wrap before they leave the room.
- Hold onto the instructions. Keep the manufacturer’s manual if you have it. Assembly guides make reassembly far quicker.
What Furniture Disassembly Mistakes Should You Avoid?
Most disassembly problems trace back to five avoidable errors:
- Forgetting how parts fit together because nothing was photographed or labeled.
- Losing screws and small hardware that were never bagged.
- Using the wrong tools and stripping screws or cracking joints.
- Taking apart furniture that was never designed to be reassembled.
- Leaving surfaces and edges unprotected, so they get scratched during the carry.
Should You Disassemble Furniture Yourself or Hire Professional Movers?
Disassembling furniture yourself saves money and lets you spread the work over several days, but it shifts the time, the tool requirements, and the damage risk onto you. In a national survey of 1,500 movers, 24.1% moved entirely DIY and only 22.7% hired full-service professional movers, meaning a sizable share of movers are taking on that disassembly risk themselves.
Professional movers handle this kind of work daily. They bring the proper tools, know which pieces should come apart and which should not, and reassemble everything at the new location so your team can get back to work. For office relocations specifically, that experience keeps expensive furniture and building interiors out of harm’s way. Chicago Office Movers includes furniture assembly and disassembly as part of its full range of commercial moving services, so the heavy lifting and the reassembly are both covered.
What Questions Should You Ask Movers About Furniture Disassembly?
Confirm exactly what’s included before you book:
- Do you provide both disassembly and reassembly?
- Which of our items do you recommend taking apart?
- Are the tools included in the service?
- Is furniture wrapping and protection included?
- Will you label and keep track of the hardware?
Clear answers up front prevent surprises on moving day and help you compare quotes fairly.
Frequently Asked Questions About Furniture Disassembly
Do movers disassemble furniture before moving it?
Many professional movers offer furniture disassembly, and many also handle reassembly at the destination. Services vary by company, so confirm what’s included before booking. Chicago Office Movers includes both disassembly and reassembly in its commercial moving service.
Should I disassemble my desk before an office move?
Most large desks and workstations are easier and safer to move when key components, such as legs, returns, and hutches, are removed first. Smaller, lightweight desks can usually be carried as they are without disassembly.
What furniture should not be disassembled before moving?
Furniture that’s fragile, antique, or built as a single piece is often better moved intact, since taking it apart can risk permanent damage or make correct reassembly difficult. When in doubt, have a mover assess the piece before opening it up.
How long does furniture disassembly take before a move?
It depends on the piece and how many items need to come apart. A single desk might take 15 to 20 minutes, while a full floor of modular workstations can take a professional crew several hours.
Do movers reassemble furniture at the new location?
Yes, most full-service commercial movers, including Chicago Office Movers, reassemble desks, tables, and shelving at the destination as part of the same service, so your team isn’t left with a pile of parts and no instructions.
Do I need special tools to disassemble office furniture myself?
Basic disassembly usually needs only a screwdriver and an Allen wrench, but some modular and cubicle systems require proprietary tools from the manufacturer. Check the assembly manual or ask the manufacturer before assuming a standard toolkit will work.
Planning an office move in the Chicago area? Chicago Office Movers handles furniture assembly, disassembly, and moving so your team stays focused on the day-to-day. Call 312-244-2246 for a free estimate.

Senior Move Consultant | Chicago Office Movers
Vic Rothstein is a Senior Move Consultant with Chicago Office Movers, bringing decades of experience in commercial moving, logistics, and relocation planning. With a career spanning thousands of successful moves, Vic helps businesses navigate office relocations with careful planning, efficient execution, and minimal disruption.
Vic’s experience began on the moving crew, giving him a hands-on understanding of every aspect of the relocation process. Over the years, he progressed into leadership roles managing complex commercial projects, coordinating teams, improving operations, and overseeing large-scale moves.
Before joining Chicago Office Movers, Vic spent more than 35 years at Anderson Movers, where he developed extensive expertise in commercial relocations, packing, transportation, fleet management, and client coordination. His ability to anticipate challenges and create organized moving strategies helps businesses transition smoothly from one location to another.
A lifelong Chicago Northwest Side resident, Vic combines deep local knowledge with his background in construction and logistics to provide businesses with practical solutions for their relocation needs.
Through the Chicago Office Movers blog, Vic shares insights on office relocations, workplace planning, commercial moving strategies, and tips to help businesses complete their moves efficiently and successfully.